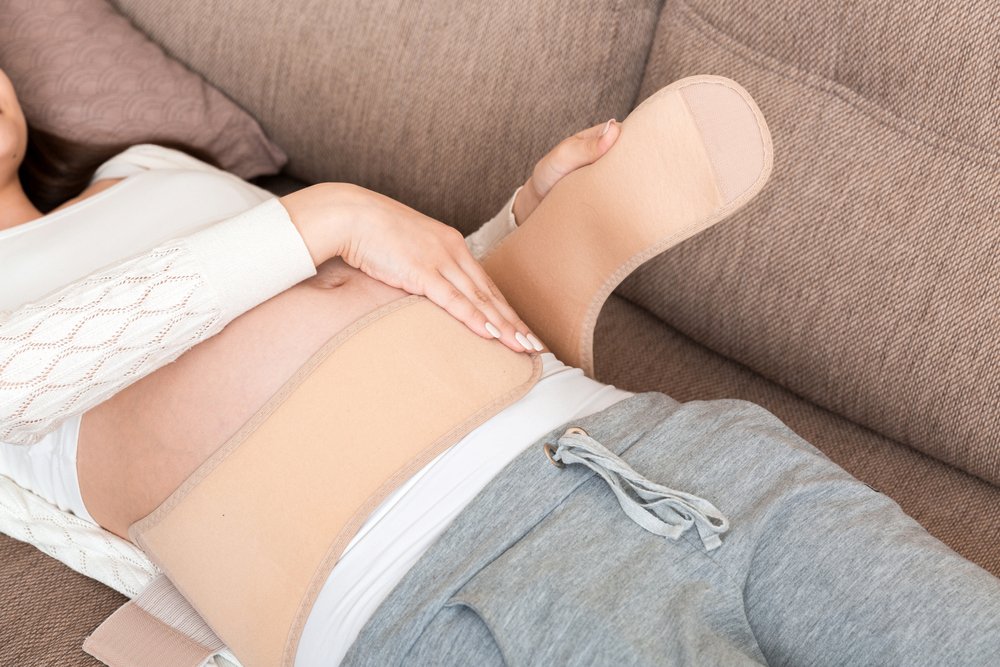
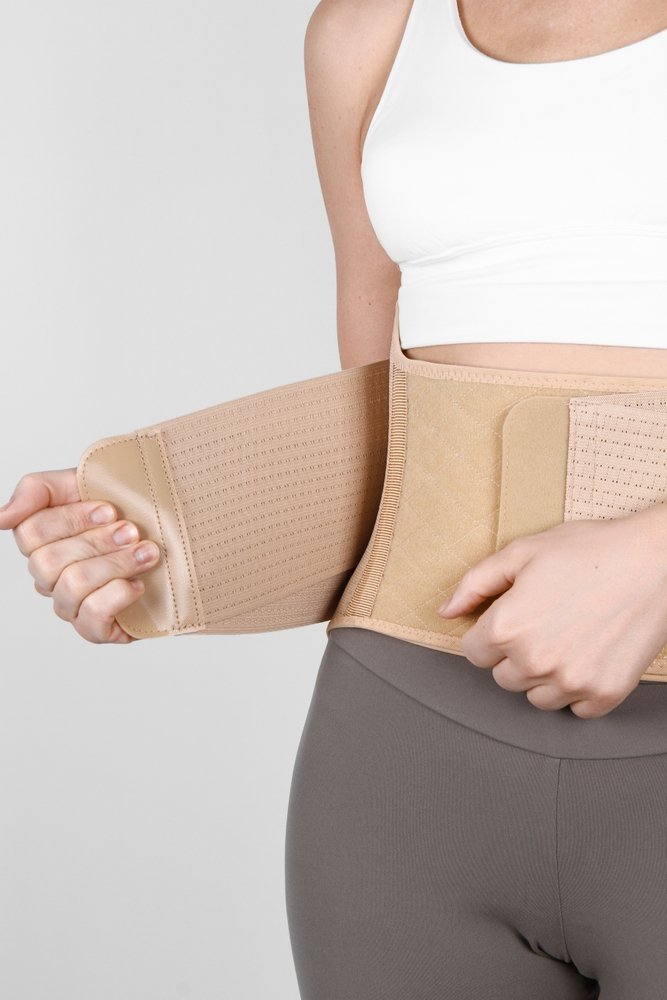
After your tummy tuck procedure is completed, the recovery process begins. One of the vital aspects of recovery is wearing a faja. But how to put on faja after a tummy tuck? It might seem complex, but the process is actually quite simple – keep reading for the instructions. Experience the difference of the specially crafted faja at Navanah. Designed with user-friendly features, it ensures a hassle-free application while providing the support your body needs during recovery.

It Is Essential to Select the Right Faja for You
The step before putting on a faja is finding the right brand and model for you. Of course, immediately after your surgery, you’ll need a stage 1 faja. Navanah has an excellent collection of fajas that will make your recovery go smoothly. You can trust us to provide you with the highest-quality products that will give your body the support it needs during the healing period. Check out our collections and order your faja.
Step-by-Step Instruction on How to Put on Your Faja After a Tummy Tuck
After the surgery, you will have to wear a faja 24/7 in the first few weeks. It’s important to learn how to put it on since you’ll have to do that many times – the faja will have to be taken off whenever you shower, so it’s crucial that you know how to put it back on afterward.
Step 1 – Preparation
You’ve chosen the right-sized faja for the first two weeks of recovery – the stage 1 faja. Now it’s time to put it on. The first step seems obvious – you’ll want to start putting the faja on the same way you would put on pants. Pull it up your thighs until it reaches the midsection of your body.

Step 2 – Positioning
Next up, you’ll have to position not just a faja, but also foams. You should have four foams – one will be put on your back, one on the abdomen, and the other two on both sides. Foams should fit comfortably inside the faja – they are there to provide additional support at the beginning of your recovery. Your doctor will tell you how long you’ll need to wear them, depending on how fast you’ll be healing.
Step 3 – Securing
When the foams are comfortably secured between your body and the faja, it’s time to pull the faja and secure it. This will be simple since fajas usually have easily-adjustable closures – either zippers or hook-and-eye closures that you will simply secure.
Step 4 – Adjusting
When the faja is finally on, and the closures are secured, the only thing that’s left to do is check if everything feels comfortable. Remember, fajas should never be too tight – they are supposed to feel like gentle pressure but never unpleasant. Adjust your faja if necessary, and you’re ready!

Common Mistakes to Avoid When Wearing a Faja
Putting on and wearing a faja isn’t particularly complicated, but there are a few things that you should know about this aspect of your recovery. We’ve already mentioned the most important one – that fajas should feel pleasant on your skin and never too tight. Secondly, you have to remember that fajas need to be washed very often – after all, you will be wearing a faja 24/7, so that makes perfect sense.
A common mistake people make is forgetting to buy a second faja to wear while the first one is being washed. Lastly, many forget that fajas should be worn even when you’re sleeping – you can only sleep without it when your doctor says it’s okay.


